
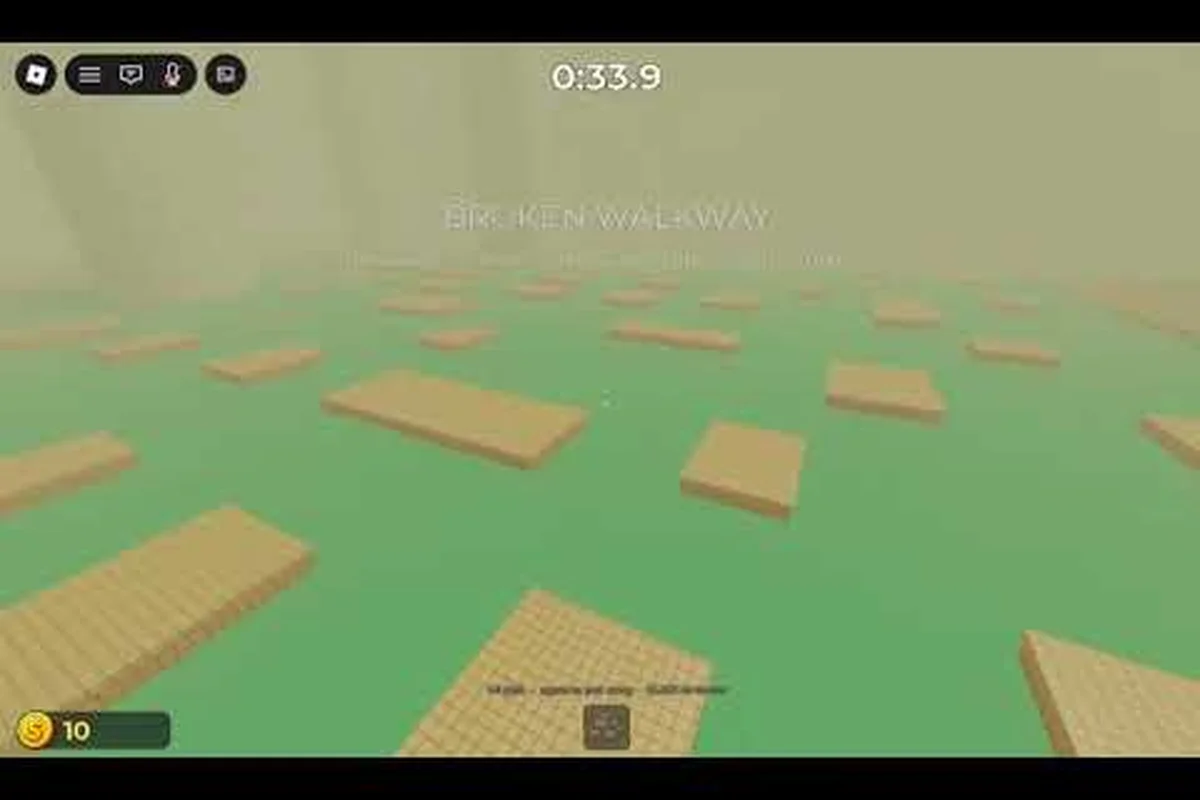
DONT SPLASH punishes noisy mistakes, so these dont splash tips for beginners focus on reading the route, staying dry, and turning each failure into useful map knowledge. Master the arrows, moving platforms, and decoys, and you can escape with far less risk.
Understanding the Core DONT SPLASH Survival Loop
DONT SPLASH is a Roblox horror platformer built around a simple tension: moving through a flooded maze is easy, but making noise draws a blind monster toward you. The official DONT SPLASH game page on Roblox describes floating platforms above dark water, with the creature hunting through sound rather than sight. That means your route knowledge matters more than your reaction speed.
For a beginner, the objective is not to rush. It is to learn where the yellow platforms lead, what the black wall arrows indicate, and which points force you into water. A careful first run is a map-reading exercise, while a panicked run often becomes a chain of unnecessary splashes.
| Core signal | What it means | Beginner response |
|---|---|---|
| Yellow platform | Main route marker | Follow it unless the path is clearly blocked |
| Black wall arrow | Direction of travel | Turn immediately and check the next landing |
| Dark water | Immediate danger | Do not enter unless no dry route exists |
| Splash sound | Monster investigation signal | Freeze, redirect, or use a thrown pebble |
| Rotating plank | Timed crossing | Move only while it faces the destination |
This is the foundation of a dont splash complete guide: route awareness prevents danger, while controlled noise management decides whether the monster reaches you. If you are still learning the opening systems, the DONT SPLASH beginner guide can help you establish the basic controls and goals before tightening your route.
Separate Visibility From Sound
The monster does not need to see you to move toward your position, so players often misinterpret its behavior. Looking directly at it may not reveal whether it has detected you, and standing still does not automatically make you invisible. The relevant clue is whether you recently disturbed the water.
Community walkthroughs and player reports describe the same reaction pattern: a splash causes the creature to investigate, while a dry route can be completed without alerting it. This makes Sound as the true threat meter more useful than watching the monster’s animation. It also explains why throwing a pebble into a separate pool of water can provide a brief distraction.
Treat Every Death as a Route Lesson
A failed attempt still teaches you something useful if you can identify the first mistake. Did you jump before the plank rotated into position? Did you ignore a black arrow? Did you enter the water because a dry platform moved away? Record the earliest error, because everything after it may be a consequence rather than a separate failure.
| Observed failure | Likely cause | Better decision next run |
|---|---|---|
| Monster arrives after a jump | Landing splashed | Use a wider landing or wait for a stable platform |
| Monster moves toward a wrong area | Pebble distraction worked | Continue while it investigates the decoy |
| Route ends at a dead end | Wall arrow was missed | Turn at every arrow until it repeats |
| Plank tips during crossing | Timing was rushed | Cross at the start of its usable rotation |
This mindset makes a dont splash how to beat guide more realistic. Progress comes from removing repeat mistakes, not memorizing an impossible perfect run. The same principle supports a dont splash how to win approach: keep the route clean, use distractions deliberately, and finish the objective with the fewest possible sound events.
Following Arrows and Choosing Safe Landings
Black arrows on the walls provide the clearest route instruction in the early game. They tell you that the obvious path is a detour and that another direction is required. Yellow platforms reinforce that guidance, but an arrow should be treated as a priority because it often appears exactly when a shortcut is unavailable.
A reliable method is to stop at every junction and identify three things: the arrow, the next stable platform, and the nearest water. You should never jump merely because the monster is still far away. If the safe landing is uncertain, wait several seconds; a short pause is better than a splash that brings the creature straight to the corridor.
| Route feature | Beginner reading | Execution plan |
|---|---|---|
| One black arrow | Turn the indicated way | Follow the wall until the next marker |
| Several yellow platforms | Continue along the marked path | Check each landing for movement |
| Arrow beside water | Extra caution required | Step slowly and secure the landing |
| Platform with no marker | Check surrounding walls | Do not assume it is the main route |
| Repeated arrow pattern | Likely confirmed route | Reconstruct the section after death |
Move Between Stable Landings
Safe movement depends on the landing, not the jump. A narrow platform may be technically reachable, but a controlled landing preserves your position. Try to land near the center of a surface, especially if the character’s momentum is still carrying from the previous jump.
Community footage shows that beginners often fall while trying to save time on rotating bridge planks. These crossings are better handled as timing puzzles. Wait until the plank is level, enter with controlled momentum, and keep your body oriented toward the next stable point. If the plank starts rotating, do not assume you can reverse safely; that reversal can produce a second, noisier mistake.
Learn the First Escape Route
The opening route teaches the core language of the game. A verified walkthrough shows an intended sequence involving yellow platforms, black arrows, rotating bridge planks, and a high exit. You do not need every detail for your first attempt, but you should recognize the order of those elements so later runs become faster and less stressful.
The DONT SPLASH easy win guide is useful once you know the mechanics because it focuses on reducing unnecessary mistakes while moving toward the exit. Until then, write a simple route note after each attempt: “first arrow left,” “wait for plank,” and “stay dry here.” Three concrete reminders are more effective than trying to remember everything during a chase.
Managing Water Noise and Monster Attention
Every splash is a potential summons signal. That makes the best movement route the one with the fewest unavoidable water crossings, not necessarily the one that takes the least time. Before committing to a jump, ask whether the destination gives you another stable platform immediately after landing. If it does not, the jump carries more risk because a miss becomes both a fall and an audible clue.
Dry landing priority is the most important noise rule. It reduces the chance that the monster follows a trail of disturbances directly toward your position. You can also create deliberate distractions, but only when you know where the creature is and where the pebble will land.
| Noise-control method | Best use | Main risk |
|---|---|---|
| Slow, controlled movement | Normal platforming | Takes more time |
| Centered landing | Narrow platforms | Poor momentum control |
| Pebble decoy | Monster near your route | Distraction may be mistimed |
| Waiting behind cover | Monster investigating nearby | Still requires a later escape |
| Avoiding water entirely | Nearly every encounter | No dry shortcut may exist |
Use Pebble Decoys Deliberately
A thrown pebble is an active tool because it creates a false sound event. The community tips footage identifies pebbles as the useful decoy, which means they should be saved for moments when a stationary monster blocks your only dry path.
Before throwing, identify the water in front of you, the creature’s current position, and the direction of your intended exit. Throw the pebble away from both your route and the creature’s expected destination. The goal is to make the monster investigate a false location, giving you time to cross the next safe stretch. A badly placed pebble can pull the creature toward the corridor you still need.
Never Treat Stillness as a Cure
Standing still can be useful when the monster is responding to a noise elsewhere, but it is not a universal invisibility mechanic. If the creature is close and has heard your last splash, freezing may simply give it more time to reach you. Your best option is to create distance, take a dry route, or use a decoy while you still have a safe landing available.
| Situation | Preferred action | Avoid |
|---|---|---|
| Monster investigates a distant splash | Cross the dry route quickly | Walking into nearby water |
| Monster stands on the only landing | Throw a pebble to the side | Forcing a noisy jump |
| Creature follows your last noise | Lead it toward a dead end | Sprinting in a straight line |
| No dry path is available | Prepare the safest shallow crossing | Rushing without a landing plan |
| Route is clear | Keep moving while remaining quiet | Stopping for no reason |
These rules support a dont splash how to escape strategy based on control. You do not need to outrun the monster when a sound cue can move it away from you. Keep one action available: a dry side route, a waiting spot, or a pebble that sends the creature elsewhere.
Timing Rotating Bridge Planks and Hazard Jumps
Rotating bridge planks are recurring sources of early deaths because their motion is easy to read but difficult to commit to. Watch the plank for a full rotation before stepping on. Your goal is to identify the portion of its cycle when it connects the starting platform to the landing platform without suddenly sloping beneath your character.
The safest rhythm is prepare, wait, enter, and stabilize. During the prepare phase, position yourself without overstepping. During the wait phase, watch both the plank and the next platform. Enter only when the route is connected, then make one smooth movement toward the far side. Stabilize means getting both feet on solid ground before adjusting your camera or deciding what to do next.
| Plank state | Safe decision | What to avoid |
|---|---|---|
| Level toward the destination | Begin crossing | Rushing before the next step |
| Turning away | Wait for the next cycle | Forcing a reversal |
| Passing through a diagonal angle | Hold position | Assuming a jump will save time |
| Aligned and stationary enough | Cross promptly | Looking away from the landing |
| Landing blocked by another hazard | Find another route | Stepping into the water |
Use a Three-Second Route Check
Before every major crossing, spend three seconds checking the next two platforms. First, identify where you will land. Second, identify where you can go after landing. Third, determine whether a wall arrow changes that plan. This simple sequence prevents the common beginner error of focusing entirely on the immediate gap while ignoring the dangerous area beyond it.
If the bridge is rotating quickly, treat speed as a problem rather than an invitation to improvise. Community reports describe missed jumps as a normal part of learning, especially on the first map. A deliberate wait is almost always more efficient than repeating the same rushed attempt.
Build a Dry Route Around Each Hazard
A hazard becomes safer when the surrounding route is designed around it. Instead of aiming for a distant platform that requires a water drop, identify the nearest point where you can regain dry footing. Shorter routes with stable landings are often faster overall because they reduce the chance of attracting the creature.
If you want to know how various difficulty settings change the pressure of these encounters, the guide to choosing a DONT SPLASH difficulty can help you choose a setting that matches your current experience. The core technique remains the same on every difficulty: read the route, time the plank, and prioritize a controlled landing over a dramatic shortcut.
Turning Retries into Measurable Beginner Progress
Beginner progress in DONT SPLASH is knowledge-based. You may begin with limited cash and fewer tool options, but route memory is available from the first attempt. The best training cycle is short, focused, and repeatable: attempt a section, identify one avoidable error, correct it, and continue.
Avoid evaluating a failed run only by the final result. A run that reaches a farther checkpoint without being caught may represent strong progress, especially if the player now recognizes a recurring hazard. A run that ends quickly can still be useful when it clarifies a safe landing or reveals the correct direction at an arrow.
| Progress measure | What it tells you | Next action |
|---|---|---|
| Furthest checkpoint reached | Route knowledge is expanding | Repeat the latest difficult section |
| Monster reached you faster | Noise management needs work | Reduce splashes and use decoys |
| Arrow confusion caused death | Visual guidance was missed | Slow down at every black arrow |
| Plank failures outnumber other errors | Timing needs practice | Wait through one full rotation |
| Clean escape after several deaths | The route is becoming reliable | Reduce hesitation slightly |
Keep a Three-Item Death Log
After each attempt, record only three details: where the mistake happened, what caused it, and what you will change. “The plank moved” is not useful by itself. “I entered while the plank was still turning, so I will wait for one complete cycle” identifies both the cause and the correction.
This log also helps when the game’s interface becomes noisy during a chase. Instead of trying to remember every mistake, return to a simple sequence: arrows first, planks second, splashes last. The DONT SPLASH survival guide can reinforce the basic rules, while your log preserves the exact details of your own run.
Separate the Objective from the Chase
A player sometimes treats the monster as the only problem and keeps running even after a safe route becomes available. That instinct makes every encounter more chaotic. Instead, identify the exit condition, then find the quietest available path toward it.
The official game page identifies reaching the exit as the central run objective, and verified walkthrough footage shows the route leading through marked platforms, a maintenance area with two valves, and finally a high exit. Knowing the destination makes it easier to reject risky shortcuts that only appear to save time.
A Practical 12-Step Beginner Run Plan
Use this plan as a repeatable route-reading routine rather than a rigid speedrun. The steps combine route recognition, sound control, and safe execution, which are the foundations of these dont splash tips for beginners. On early attempts, complete every step before trying to reduce pauses.
-
Select a difficulty that lets you observe the environment without constant pressure.
-
Confirm the current objective: reach the high exit and survive the flooded route.
-
Follow the first yellow platform and scan the wall for a black arrow.
-
Stop at every junction and confirm the landing beyond the arrow.
-
Approach the first rotating bridge plank and watch one full cycle.
-
Cross while the plank connects to the next stable platform.
-
Land near the platform’s center to prevent an immediate slide or fall.
-
Treat any splash as a chase trigger; move away from the water immediately.
-
Throw a pebble only when the monster blocks the next dry section.
-
In the maintenance area, open both valves before attempting the high exit.
-
Recheck the route after each valve because the safest continuation may change.
-
Reach the high exit without making another unnecessary noise event.
| Stage | Primary goal | Failure signal | Correction |
|---|---|---|---|
| Route reading | Follow yellow markers and arrows | Wrong corridor | Turn at the next black arrow |
| Plank crossing | Cross on a stable cycle | Sliding or falling | Wait for full alignment |
| Monster encounter | Keep it away from your route | It follows your splash | Lead it aside or pebble |
| Maintenance area | Operate both valves | Exit remains inaccessible | Complete each valve step |
| Final approach | Reach the high exit | Late panic jump | Slow down and verify footing |
This sequence turns the dont splash complete guide into practical habits. You do not need a perfect memory of every jump on day one. You need to stop repeating the same avoidable error on every attempt.
Frequently Asked Questions
What is the most important rule in DONT SPLASH for beginners?
Avoid splashing whenever possible, because the monster hunts through sound rather than sight. Follow yellow platforms and black wall arrows, land on stable surfaces, and use a thrown pebble only when it can pull the creature away from your route. The quieter you remain, the more control you keep over each encounter.
Can I escape DONT SPLASH without throwing pebbles?
Yes. Pebbles are optional decoys, not a required escape item. Many sections can be crossed by following the marked route, timing rotating bridge planks, and taking dry landings. Save pebbles for situations where the creature stands on your only safe path or where a deliberate false noise creates a useful opening.
Why does the monster find me even when I am not moving?
The creature can continue investigating the location of a previous splash, so standing still does not erase the sound you made. If it is closing in, create distance through a dry route, lead it toward a dead end, or use a pebble to redirect it. Standing motionless works only when the creature is already focused elsewhere.
How do I open the exit after reaching the maintenance area?
The verified route shows that both valves in the maintenance lock must be opened before you can climb to the high exit. Look for each valve, operate it carefully, and avoid unnecessary water contacts while crossing the room. Once both are activated, the final approach becomes available.
What should I improve after dying repeatedly to the same obstacle?
Review the first cause of death rather than the final chase. If it was a rotating plank, wait for a complete alignment. If it was a water landing, choose a wider platform or adjust your momentum. If it was a missed arrow, slow down at junctions. These corrections turn a difficult dont splash how to win attempt into steady, measurable improvement.