
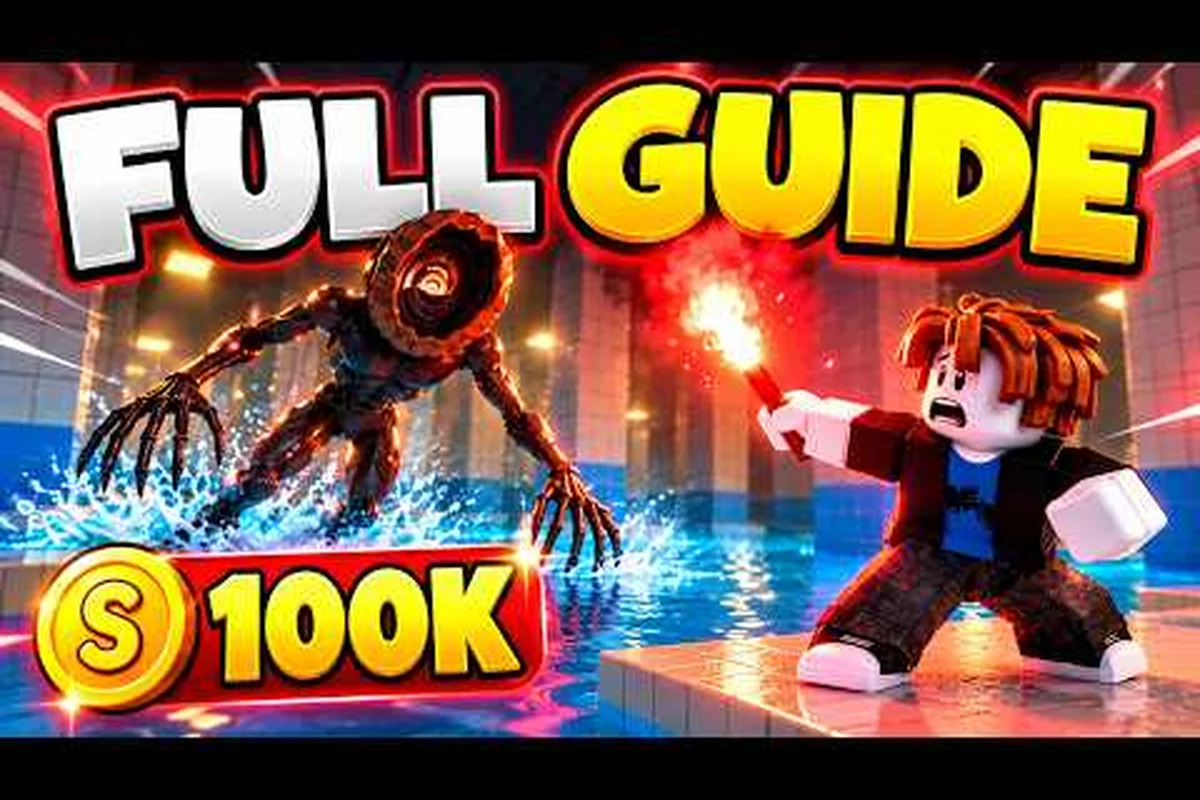
DONT SPLASH punishes every noisy mistake, so this dont splash beginner guide turns its water maze into a readable route. Learn what the colored markers mean, when a valve can refill the creature’s tracking meter, and why the decoy sound can buy time. The key is to move in short bursts: silence your steps at each junction, check the water-level cues, and take the exit route before the creature closes in.
DONT SPLASH Beginner Guide: Read the Map Before Moving
The objective in DONT SPLASH is straightforward: cross the flooded maze and reach the high exit before the water becomes too dangerous. The difficulty comes from a blind creature that hunts through sound, meaning a safe-looking jump can still expose your position if it ends in a splash.
This yellow-platform system gives you a dependable first route. Yellow surfaces mark the intended path, while black arrows on walls point toward the next objective. The official DONT SPLASH game page on Roblox describes a flooded platform maze with a sound-hunting creature, so recognizing the visual language is more useful than improvising a shortcut.
A complete DONT SPLASH how-to-play plan should focus on four actions: follow the connected yellow platforms, read the black wall arrows, keep every landing area dry, and use a thrown pebble to redirect the blind creature before moving. This combination is more reliable than testing random jumps, because the yellow-platform route defines the intended progression while a silent landing prevents the sound-hunting creature from tracking your position.
-
Follow the connected yellow platforms instead of testing every jump.
-
Read black wall arrows before committing to a branch.
-
Keep landing areas dry whenever possible.
-
Throw a pebble into the water when the creature approaches your position.
| Beginner priority | What to watch | Why it matters |
|---|---|---|
| Platform color | Yellow route markers | Separates the intended path from risky detours |
| Wall symbols | Black directional arrows | Identifies the next route objective |
| Water contact | Any splash | Alerts the creature to sound |
| Exit route | High platform after both valves | Completes the escape objective |
The official listing says the creature does not rely on sight, which changes how you should play. Hiding behind geometry may help, but silence remains your strongest cover. If you are still learning the movement and jump rules, the DONT SPLASH obby guide provides a closer look at platforming fundamentals.
DONT SPLASH How to Play: Build a Reliable Opening Route
Your first successful run should be treated as a reconnaissance mission. Learn the sequence of platforms, note where the arrows appear, and identify the safest landing zones. Later attempts can then become faster because your knowledge—not purchased gear—creates the advantage.
Follow Yellow Platforms and Black Arrows
Yellow platforms form the route that players are meant to read first. When a yellow path ends, look for a black arrow nearby instead of assuming every nearby ledge is connected. The arrows direct attention toward the next section and reduce the number of unnecessary jumps through the water.
Community walkthroughs report that the most dependable approach is to follow this marker system rather than searching for a hidden shortcut. That matches the maintenance-lock route described in gameplay demonstrations: reach the valves, open both, and continue toward the elevated exit.
| Route clue | Interpretation | Best response |
|---|---|---|
| Yellow platform | Main progression marker | Cross it and prepare for the next marker |
| Black wall arrow | Direction toward the objective | Face and follow the arrow |
| Unmarked platform | Optional or uncertain route | Pause before using it |
| Dark water | Hazard and sound source | Jump only when the landing is clear |
The DONT SPLASH tips for beginners guide adds useful details for reducing failed jumps and planning retries. For this dont splash how to play overview, the key principle is simple: colored markers are information, while unmarked scenery may be a trap.
Understand the Sound Mechanic
The creature is called the Soundhunter in community descriptions, and it investigates splash noises rather than directly watching the player. That means your danger meter is not simply whether it can see you; it is whether you produced a sound it can interpret as movement in the water.
This changes the value of a cautious jump. A short distance crossed with one noisy landing may be better than a long jump that clips the edge and causes a long slide. Approach boundaries carefully, align your character, and avoid the water whenever a marked platform offers a slightly longer route.
| Action | Likely result | Survival decision |
|---|---|---|
| Clean jump onto a platform | Little or no splash signal | Continue normally |
| Landing partly in water | Loud noise and movement | Retreat if the creature is close |
| Falling into open water | Immediate attention | Use a pebble only if one is available |
| Walking near the edge | Unstable footing | Slow down before committing |
| Throwing a pebble | False sound away from you | Use to redirect the hunter |
The important distinction is that the pebble is an active decoy, not a permanent invisibility item. Throw it toward a safe area away from your route, then move while the creature investigates the false noise. Community tips describe this as the only active decoy available early, so treat every pebble as a valuable resource.
DONT SPLASH Escape Guide: Follow the Two-Valve Maintenance Route
The escape route centers on the maintenance lock. According to verified gameplay walkthroughs, players must open both valves, then climb to the high exit before the rising water becomes fatal. The route turns the maze into a two-stage objective instead of a direct sprint.
Reaching the Repair Lock
A black arrow should point you toward the maintenance area. Do not follow every yellow branch blindly, because the goal is not simply to touch the maximum number of platforms; it is to reach the valves in the correct sequence. At the lock, interact with both valve controls rather than assuming one is enough.
| Maintenance step | Player action | Result |
|---|---|---|
| Find the lock | Follow the relevant black arrow | Reach the valve chamber |
| Open valve one | Interact with the first control | Complete half the required objective |
| Open valve two | Interact with the second control | Unlock the exit route |
| Reach high ground | Climb after both valves are open | Position for the final escape |
| Enter the exit | Cross the final marked path | Complete the run |
Community route footage shows that the climb becomes available after the second valve, so players who open only one can waste time exploring dead ends. This two-valve requirement is a useful checkpoint: if both controls are not visibly completed, backtrack and inspect the maintenance lock before attempting the final platform section.
Treat the Final Climb Carefully
The last stretch can be dangerous because the creature may already be nearby. Keep your movement tight, avoid unnecessary reversals, and use the final black arrows to confirm the exit direction. Rotating bridge planks appear along the intended route, so wait for a stable orientation before crossing.
A dry route may take an extra second, but it protects the sound-based hunt. The high exit becomes much easier to reach when you arrive without a loud splash, because the creature is less likely to converge on the final climb.
DONT SPLASH Survival Guide: Control Sound, Route, and Retries
Surviving depends on preparation rather than panic. Once you understand where the route bends, you can slow down before dangerous sections and treat every failed attempt as information. This is especially important because the creature responds to noise, and panicked corrections often create the exact splash the player wanted to avoid.
Build a Three-Layer Safety Routine
Use a simple routine before every risky jump: Scan, Align, Move. Scan the destination and the surrounding water, align your character with a stable approach, then move without changing direction midair. This routine takes less time than repeatedly recovering from a bad landing.
| Risky situation | Common mistake | Better response |
|---|---|---|
| Gap near an arrow | Jumping before locating the landing | Read the full marker sequence |
| Narrow platform | Sprinting with excessive momentum | Use a controlled approach |
| Rotating bridge | Crossing while it tilts away | Wait for a favorable angle |
| Creature nearby | Jumping into water to flee | Hide or create a distant decoy |
| Missed jump | Continuing through the same route | Reset and retry from a known checkpoint |
The key is to reduce the number of decisions made while airborne. If you need to choose between two ledges while jumping, you have already left the safest position. Walk to the edge, identify the intended yellow platform, and commit only when the next move is obvious.
Use Pebbles Deliberately
A pebble creates a false noise in the water, but timing matters more than distance. If the creature is already close, throwing the pebble at its feet may bring it toward the same area. Aim for a separate pool or a distant section of the route, then move while its attention is displaced.
The pebble throw works best when used before the creature closes the final gap. It is less effective as an emergency response after a loud landing because the original sound may already have established your position. Keep one pebble for a genuine pinch point rather than spending it on a minor threat.
If you need a broader view of enemy pressure and route selection, the DONT SPLASH friends and difficulty guide explains how difficulty choices can change the pressure around early attempts. On a higher difficulty, the creature may detect movement or surface disturbances from farther away, making a clean escape route more valuable than a risky shortcut through the open water. A lower difficulty can give beginners more room to learn pebble timing, but route choice still matters: staying near walls and cover can reduce the number of angles from which the creature can approach. For example, a winding passage may be safer than a direct crossing even when it is longer, because it gives you time to listen for the creature’s movement and set up a distraction before it reaches you.
DONT SPLASH How to Survive: Learn the Route Before Chasing Speed
Fast play is useful only after the map becomes familiar. A slow first run can produce a dramatically faster second attempt because you no longer waste time identifying safe platforms. The best progression is route knowledge, quieter movement, then speed.
Use Community Experience as a Route Checklist
Verified player walkthroughs and tips videos repeatedly describe the same sequence: follow yellow platforms, use black arrows, cross rotating bridge planks, open both valves, and climb to the high exit. When multiple community sources point to the same route, it is a strong reason to test that pattern rather than exploring random branches.
A useful first-run checklist is: begin near the starting area and confirm the first black arrow before committing to a long route. Treat yellow platforms as the primary progression line, but verify each transition against the community-tested pattern rather than assuming every black arrow is safe. Rotating bridge planks require timing; crossing while the plank is turning can send you into deep water, so watch its rotation before stepping on. The maintenance lock and both valves are mandatory checkpoints, and the high exit should only be attempted after the escape route is confirmed. If a jump fails, use the location of the splash and noise to identify whether you misread a marker or mistimed a rotating plank, then apply that single correction on the next attempt.
- Identify the first black arrow before moving far from the starting area.
- Use yellow platforms as the main progression line.
- Note every rotating bridge and its safe crossing angle.
- Locate the maintenance lock without entering deep water.
- Open both valves and confirm that the exit route is available.
- Reach the high exit while keeping splashes to a minimum.
Failed jumps are normal in this game, especially for new players. Community reporting notes that even experienced players sometimes die on missed jumps, so a failure does not necessarily mean the route is broken. Review where the noise happened, identify whether you mistook a route marker, and make one correction on the next attempt.
Improve Gradually After the First Escape
Once you can reach the exit consistently, shorten pauses and make fewer corrections. Avoid increasing speed around water before you have mastered the basic rhythm. A clean run depends more on choosing the right path than on holding forward through every gap.
This progression also makes rewards easier to track: each clean escape should end with fewer splash mistakes, completed objectives, and more progress toward the next upgrade. The DONT SPLASH cash and progression guide can clarify which successful runs contribute to your next improvement. For example, treat the table’s stages as checkpoints—learn the color and arrow cues first, then open both valves without falling, memorize the route, and finally complete a cleaner escape. This lets you compare runs by specific milestones rather than relying on a vague feeling that you are improving.
| Progress stage | Main focus | Success measure |
|---|---|---|
| First attempt | Learn colors and arrows | Reach the maintenance area |
| Early retries | Avoid splash noise | Open both valves without falling |
| Repeated runs | Memorize the route | Climb to the high exit |
| Speed practice | Reduce hesitation | Complete a cleaner escape |
DONT SPLASH Beginner Mistakes to Avoid on Your First Escape
Most early deaths come from understandable assumptions. Players may think the creature can see them, assume every platform is safe, or believe a single valve completes the lock. Correcting those misconceptions removes several failure sources before you even improve your jump timing.
Mistaking Visual Distance for Safe Distance
A short jump that looks manageable may require a precise landing, while a longer marked route may be easier because both takeoff and destination are stable. Prefer routes that provide clear dry-landing indicators over direct but awkward cuts. A missed jump does more than end the run; it creates a loud sound in a place where the creature can investigate.
Ignoring the Purpose of Arrows
The black arrows are not decoration. They resolve the maze by indicating the next objective, especially when yellow platforms branch. Pause long enough to read the direction, because a mistaken turn can place water between you and the maintenance lock.
Opening Only One Valve
A partially completed lock does not provide a shortcut to the exit. Both valves are required, so confirm the second control before climbing. This maintenance-lock check prevents the frustrating outcome of reaching a supposed final section and finding no route upward.
Running Immediately After a Decoy
Throwing a pebble creates an opportunity rather than an automatic escape. Move immediately, but move in the direction of your route rather than toward the pebble. If you freeze and watch the creature, you surrender the time advantage that the decoy created.
DONT SPLASH Escape Plan Checklist for New Players
A strong dont splash escape guide comes down to reading, pacing, and verification. Read the yellow platforms and black arrows, move at a controlled speed, open both valves, and confirm the high exit before committing to the final climb. The creature makes noise dangerous, but predictable markers give you a learnable path through the maze.
The best dont splash survival guide is not a list of random reflexes; it is a repeatable route. Begin with the yellow-platform line, use black arrows to confirm every major turn, treat water contact as a failed noise check, and save pebbles for moments when the hunter is close. Community walkthroughs support this methodical approach because knowledge improves with each attempt.
Use this dont splash beginner guide as your first-run checklist: pause at each yellow platform, verify the next black arrow, and note the safest water-free landing before moving. If the creature approaches, use a pebble to redirect its attention, then resume the marked route only after it looks away. Treat both maintenance valves as mandatory objectives, and identify the high exit beforehand so the final rotating-plank climb does not force risky improvisation.
| Stage | Action | Result |
|---|---|---|
| Orientation | Read yellow platforms and black arrows | Find the intended route |
| Navigation | Avoid unnecessary water jumps | Reduce creature attention |
| Objective | Open both maintenance valves | Release the exit route |
| Finale | Cross rotating planks and climb high | Reach the exit |
| Mastery | Repeat and reduce hesitation | Build faster, cleaner runs |
Frequently Asked Questions
Can beginners escape the DONT SPLASH creature without throwing pebbles?
Yes, but you must avoid splash sounds. Follow the yellow platforms, use black arrows to find the route, open both valves, and keep every landing on a stable surface. Pebbles are most useful when a mistake has already created noise or the creature is approaching your position.
What is the fastest way to find the exit in DONT SPLASH?
The reliable route runs through the maintenance lock: open both valves, follow the marked climb, and cross the rotating bridge planks to the high exit. Community walkthroughs identify this sequence more clearly than direct navigation through the maze, especially for players who cannot yet recognize the color and arrow system.
Does the creature in DONT SPLASH hunt by sight or sound?
It primarily investigates sound, especially splashes in the water. Moving behind an obstacle does not guarantee safety if you land noisily nearby. Stay on marked platforms, slow your approach to water, and throw a pebble into a separate area when you need to move without drawing the creature directly to you.
Should new players choose a harder difficulty for better rewards?
Difficulty can increase pressure, so beginners benefit from learning the route on a setting that gives them time to read markers. This dont splash how to survive strategy focuses on avoiding mistakes rather than seeking difficult encounters immediately. Once escapes become consistent, you can compare difficulty options and reward tradeoffs.
Is falling into the water always an instant loss in DONT SPLASH?
A fall creates a loud splash and immediately draws attention, but it does not always end the attempt by itself. If possible, recover and move away from the water while the creature investigates the noise. Keep a pebble ready because the original splash may have already revealed your position.