
Tools
DONT SPLASH tools guide: pebbles, flares, toy batteries and the rescue rope — how each loadout item works, when to use it and how upgraded stats change your run.
Introduction
The Tools hub covers every item in the DONT SPLASH hotbar and how to turn a basic loadout into a route-winning kit. The game only hands you a handful of tools — pebbles, flares, toy batteries and the rescue rope — plus a limited number of slots to carry them, so the real skill is choosing what to bring and when to use it. Articles here explain what each tool actually does, how the hotbar and slots work, which upgrades in the lobby or from game passes push a tool to its best version, and how experienced players build loadouts for specific stages such as the rotating bridges or the valve-locked maintenance room.
Tool Loadout Quick Reference
| Tool | How to Get | Best Use | Upgrade Synergy |
|---|---|---|---|
| Pebble | Starting item | Lure IT away from your route | Pebble Skipping + Throwing Range |
| Flare | Loadout / lobby | Light dark corridors | Max Flare Radius pass |
| Toy Battery | Loadout / lobby | Power toy and light tools | Max Toy Battery pass (3/3 lock) |
| Rescue Rope | R$30 game pass | Reach ledges, recover positions | Rope Reach + Rescue Speed stats |
| Tool Slots | Start with 3 | Carry more tools per run | 4th / 5th Tool Slot passes |
Loadout Breakdown
Pebble
The heart of every loadout
Flare
Light and coverage
Toy Battery
Fuel for powered tools
Rescue Rope
Recovery insurance
Tool Slots
Carrying capacity
Core Mechanics
The tool system in DONT SPLASH is built around a small, permanent loadout that you rehearse like a formation. You start with a limited number of tool slots — the 4th and 5th come from game passes — and each tool occupies one slot, so bringing a flare means leaving something else behind. Pebbles are the engine of the loadout: you can carry up to eight per run and throw them into distant water to create a splash that pulls IT away from the route you need. The hotbar selects the active tool, number keys equip it and a second press puts it away while the throw button launches it. Flares give light and coverage in dark stretches, toy batteries power toy and light tools, and the rescue rope is a reusable recovery aid that helps you reach ledges or climb back from a bad position. Lobby improvements such as rescue speed, rope reach and throwing range modify these tools permanently once bought.
Advantages
The loadout's biggest strength is that eight pebbles per run give you a real, limited resource to manage instead of an endless tool spam. Because pebbles are scarce, every throw matters, and that scarcity is what turns the game into a strategy puzzle — good players spend their pebbles exactly on the bridge crossing and the valve room rather than on every casual jump. The tools are also tightly synergistic with the game's economy: the same pebble that lures IT can be upgraded by Pebble Skipping and Throwing Range, and the rescue rope interacts with Rope Reach and Rescue Speed. That means a focused loadout can be genuinely customized — a pebble main, a rope main and a flare main play noticeably different games, which keeps the tool system interesting run after run.
Challenges
The tool system's weakness is that it punishes flexibility: total pebble count is capped at eight, tool slots are limited, and there is no way to respec a mid-run decision. A player who wastes a pebble on an unimportant splash or fills slots with rarely-used items enters the high-stakes rooms with a gutted loadout. Tools are also gated behind purchases and upgrades — the rescue rope needs the R$30 pass, the 5th slot costs R$149, and the most powerful stat tweaks only come from R$150 Max Stat Passes or lobby upgrades that take cash and time. Finally, accessories add noise and risk: every tool throw produces a splash on impact (that is the point of pebbles), so careless use can summon IT exactly when you wanted to be quiet.
Frequently Asked Questions
How many pebbles can I carry?+
Which three tools are the best loadout?+
Do tool upgrades from passes matter?+
Quick Tips
Spend pebbles like cash with a budget, not like confetti. Two throws before the bridge, one before the valve room, one spare for a charge escape — players who budget their eight pebbles arrive at the maintenance lock with control, while hoarders arrive broke at the exact moment they need a window.
Rehearse your hotbar switching in the lobby until it is reflex. During a run you will be jumping, listening and switching tools under pressure; if selecting the pebble takes a conscious thought, the bridge will already be swinging past you. Number keys select, a second press stows, and only click throws — build that muscle memory before your first serious run.
Bring the rescue rope if you own the R$30 pass — it is the best recovery insurance in the game for the price. The rope rescues bad positions and reaches high ledges, which converts what would be a dead run into a clean climb, and its Rope Reach and Rescue Speed upgrades make it even more forgiving.
Featured
DONT SPLASH dont splash how to equip items on PC
Master dont splash how to equip items with number-key hotbar selection, click-to-throw controls, item slots, and cooldowns across devices.
DONT SPLASH best first purchase: Tool Tier
Compare dont splash best first purchase options, including pebbles, flares, toy batteries, and the rescue rope, to choose the strongest early tool upgrade.
DONT SPLASH best loadout for escaping IT
Build a dont splash best loadout by comparing pebbles, flares, batteries, and rope, then prioritize the tools and upgrades that suit your run.
All Articles
DONT SPLASH How to Use the Rescue Rope in a Run
Learn dont splash how to use rescue rope for faster recovery, correct tool-slot activation, and team rescues when a risky jump goes wrong.
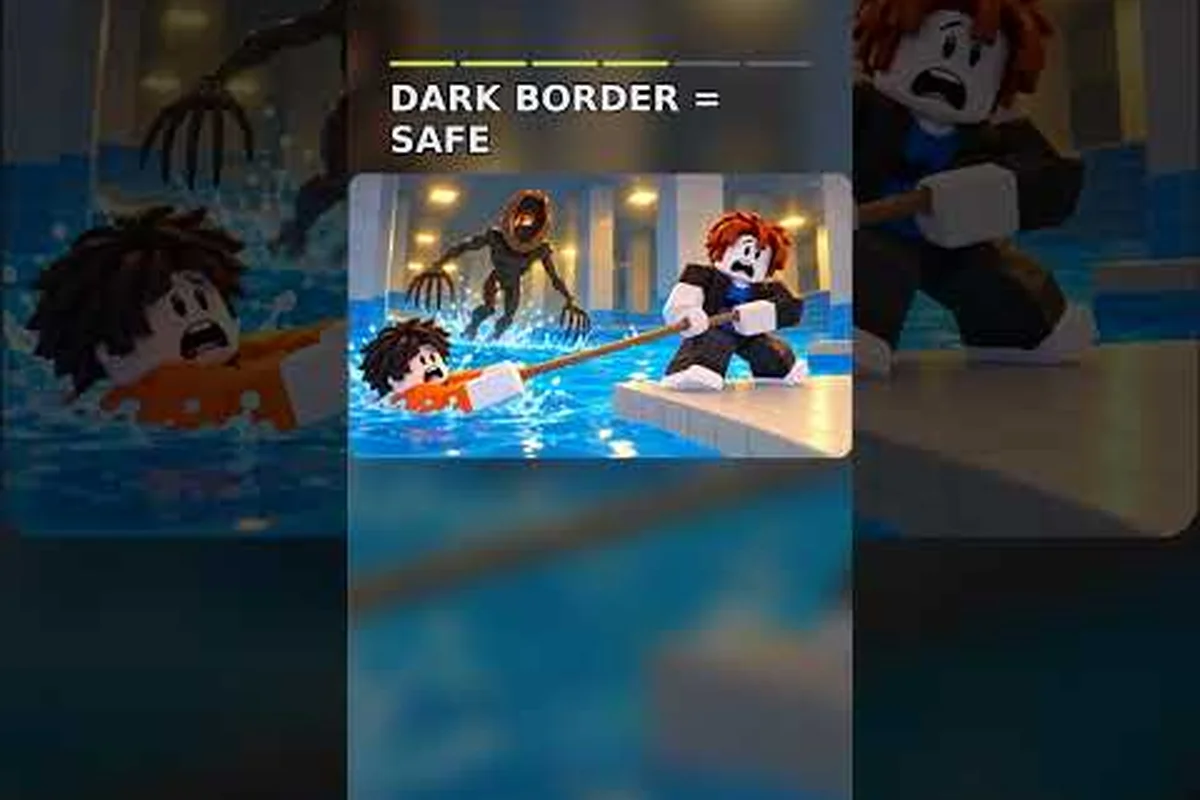
DONT SPLASH dont splash max pebbles and tool limits
Check dont splash max pebbles limits, throwing range, flare radius, battery capacity, and rescue rope options for planning a safer escape.
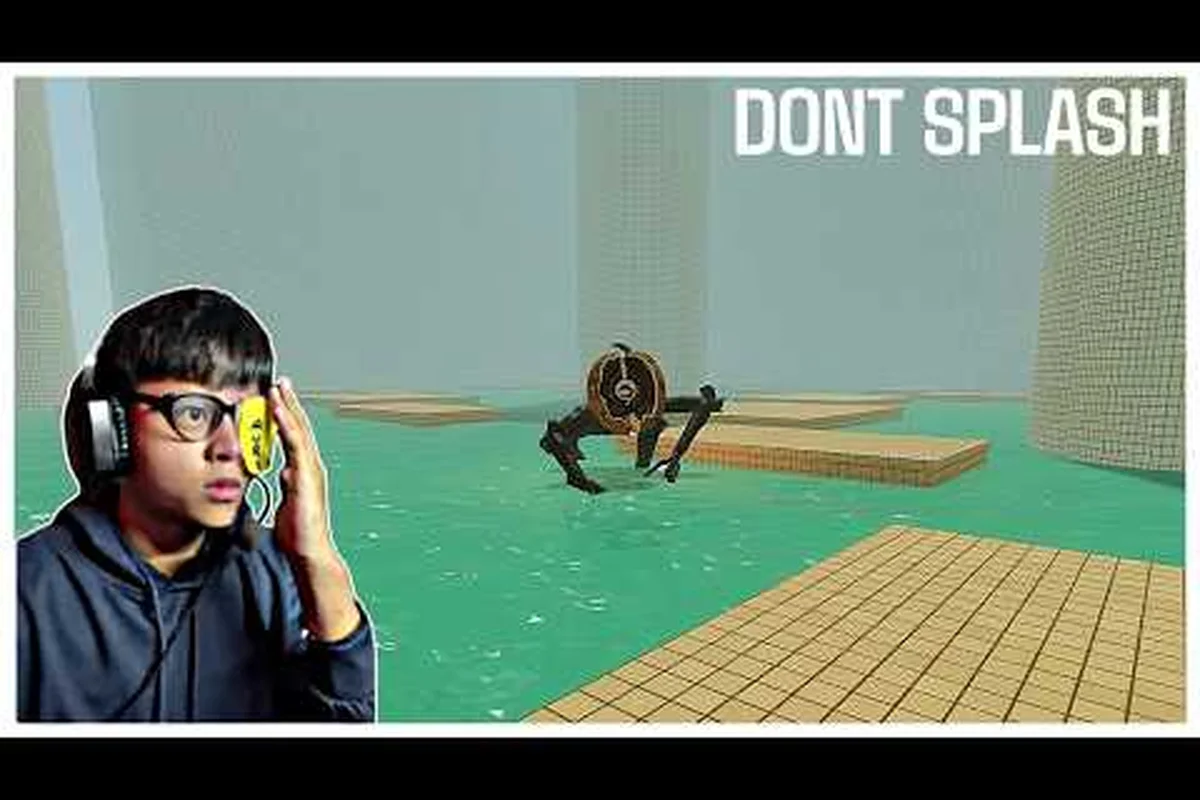
DONT SPLASH Tool Durability: How Long Gear Lasts
Compare dont splash tool durability across pebbles, flares, and rope, and learn how each affects noise, distance, recovery, and tool value.
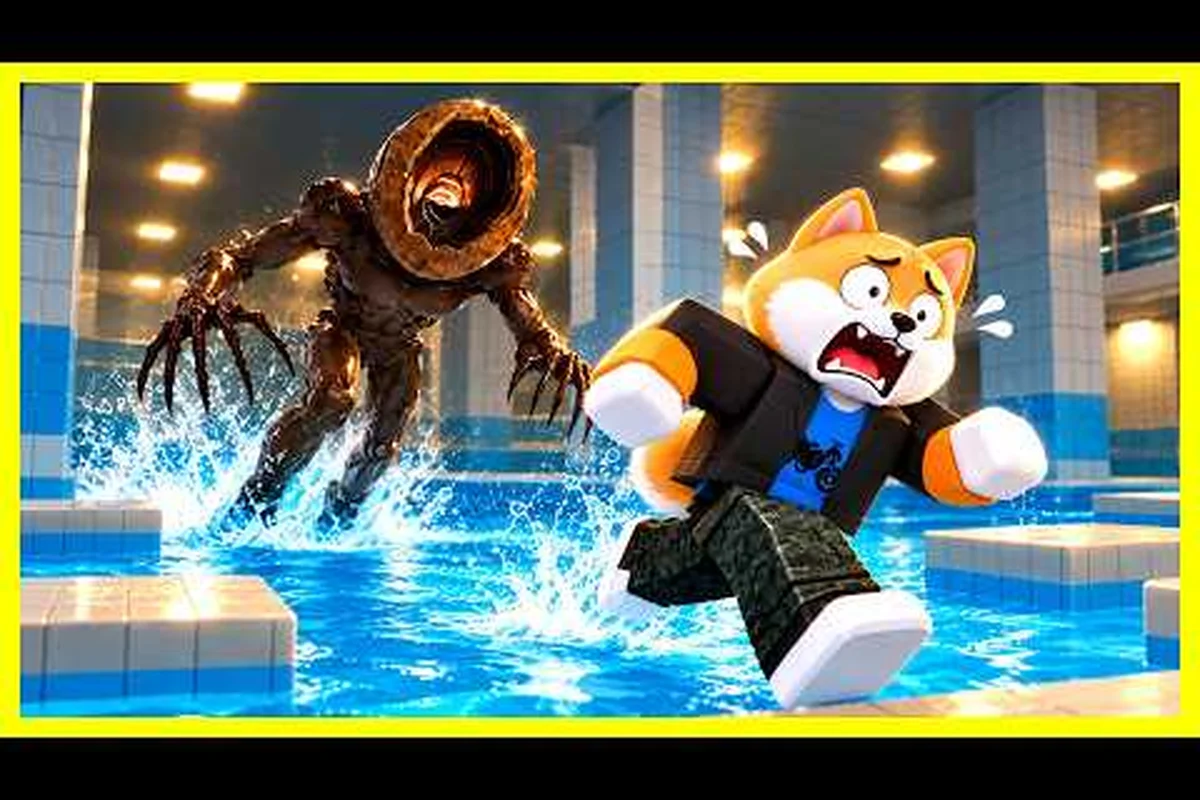
DONT SPLASH tools guide: 4 Essential Escape Uses
Use the dont splash tools guide to master pebbles, flares, toy batteries, and the rescue rope, including hotbar controls, distractions, and recovery timing.