
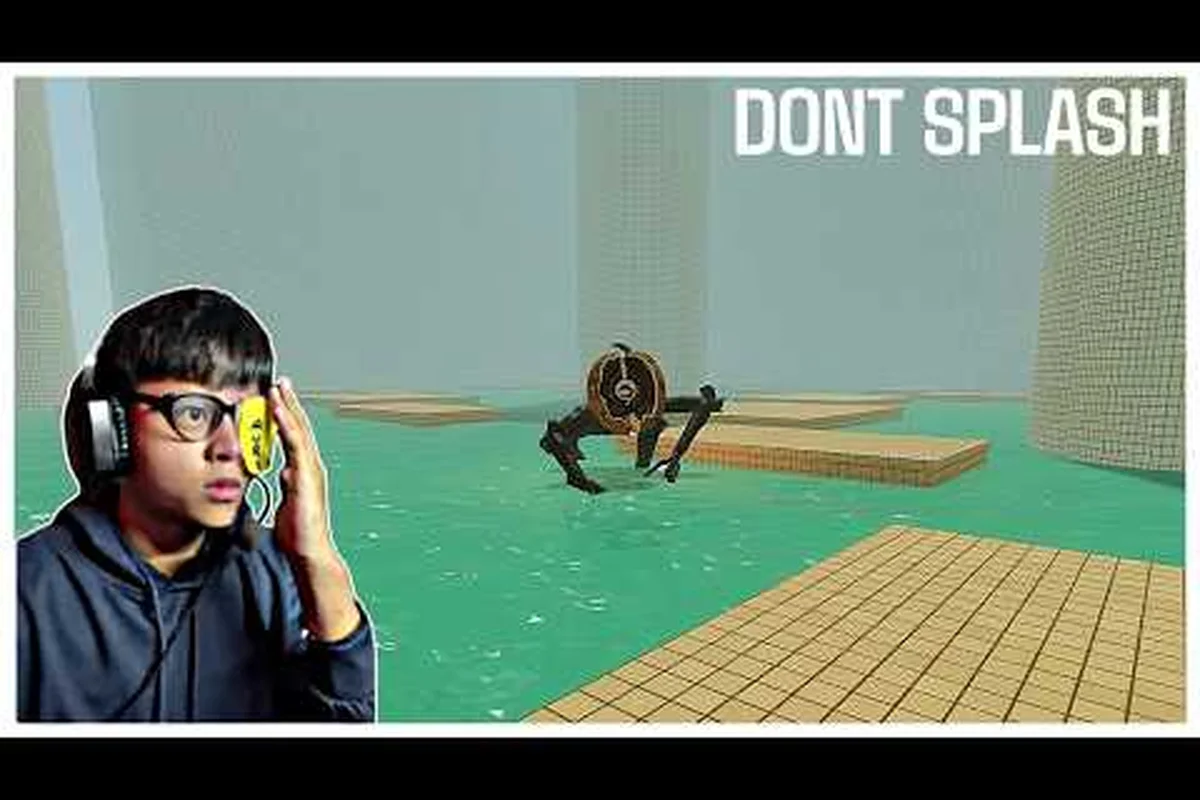
DONT SPLASH tool durability decides whether a risky throw is worth taking, especially when your hotbar is nearly empty and every resource has a purpose. Learn how pebbles, flares, the rescue rope, and other tools differ so you can spend them at the right moment instead of using a flare for a problem a pebble can solve.
What DONT SPLASH Tool Durability Actually Means
In DONT SPLASH, tools are not simply damage meters. The practical question is how long each option remains useful during a run, because every throw can affect noise, visibility, distance, and recovery. The official Roblox page describes utility-focused tools such as pebbles, flares, toy batteries, and a rescue rope, with a limited hotbar that can be expanded as the run progresses.
Tool durability is best understood as usable value per resource. A pebble that creates a distraction has more practical value than a flash if the goal is to cross a dangerous water section silently. A flare may be harder to replace, but its large radius and light coverage can make a difficult route safer. The rope occupies a different role because it can assist with recovery rather than direct a decoy.
| Tool | Main purpose | Practical durability question | Best use |
|---|---|---|---|
| Pebble | Distraction and decoy | Can the throw create enough attention elsewhere? | Noisy sections and risky jumps |
| Flare | Light and area coverage | Is the illuminated area worth the resource? | Dark or wide obstacle areas |
| Rescue rope | Recovery and reach | Can it solve the current positional problem? | Teammate rescues and ledge recovery |
| Toy battery | Light-based utility | Is its charge still useful for the route ahead? | Temporary utility and visibility |
| Upgradeable tool slot | Inventory capacity | Will the extra slot change survival odds? | Preparing for uncertain stages |
Because the game can limit tools per run, durability also depends on route planning. Player experience reported in community walkthroughs suggests that pebbles are often the first active decoy, while the rescue rope is valued because it can recover a position after a mistake. The official DONT SPLASH game page is the best source for the current tool list and game context.
Comparing Pebbles, Flares, and Rope
A direct comparison makes the key difference clear. Pebbles and flares consume a slot to influence the environment, whereas the rope can change the location of a player or teammate. That makes them useful in different situations even when their raw survival contribution appears similar.
Pebbles: High Tactical Value per Throw
Pebbles are valuable because they turn a dangerous movement into a distraction. You can throw one into distant water to draw attention while crossing elsewhere, provided the timing and throwing range are right. The practical durability of a pebble is therefore measured by the distraction it creates, not by how long the object itself remains visible.
Community walkthroughs report that the run caps pebbles at eight without upgrades, which gives you a limited but meaningful supply. A pebble can be wasted easily if it lands in a harmless spot, so the strongest users throw toward a noisy, visible area that would make a pursuer investigate the wrong place. If you are still learning the range, review the DONT SPLASH tools guide for the basic hotbar controls and throwing rhythm.
A good pebble throw is a route decision. Throw early enough for the decoy to attract attention, but do not waste one on a safe ledge where no pursuit risk exists. Save pebbles for jumps, water crossings, and sections where being seen could cost a run.
Flares: Durable Area Control
Flares are the answer to darkness, limited visibility, and routes where you need a broad area to remain readable. Their practical durability comes from the flare radius and the duration of useful light, which makes them less flexible than pebbles but potentially more valuable in a large, dark obstacle room.
A flare is not always a flashlight replacement, because its value also depends on where it lands and how the surrounding space is arranged. If the path is narrow and immediate, a single light may be enough. If the stage is wide, a flare can illuminate a larger zone and make a difficult timing challenge easier to understand. The community’s DONT SPLASH maximum upgrades guide covers the permanent upgrade path for radius and related utility stats.
Use a flare when visibility changes the outcome. If you can already see the next obstacle clearly, preserve the flare for a darker section. If the route has multiple blind turns, a well-placed flare may prevent several mistakes and justify using one immediately.
Rescue Rope: Reusable Recovery Value
The rescue rope is different because it can be used to reach a ledge or recover a teammate who has slipped. That makes its durability less about repeated consumption and more about whether the rope remains relevant during the run. A rope that is available after a bad jump may be worth more than a perfect decoy that never gets used.
| Situation | Best tool choice | Reason |
|---|---|---|
| Distant water crossing | Pebble | Creates a false point of attention |
| Dark, wide chamber | Flare | Improves visibility across a larger area |
| Teammate stranded | Rescue rope | Restores access and recovery |
| Unclear next jump | Pebble plus flare | Decoy buys time while light improves route reading |
| Short, well-lit corridor | Save all tools | No obvious durability advantage |
The rope also has meaningful upgrade stats, including rescue speed and rope reach. Those values influence whether a rescue is practical in a narrow stage, but the core decision is simple: use the rope when a failed position is more expensive than a used tool slot. See the rescue rope mechanics guide for a focused explanation of reach, speed, and recovery situations.
DONT SPLASH Flare Uses and the Flashlight Question
Flares are often compared with flashlights, but they solve different parts of the problem. A flashlight gives the player a personal beam, while a flare can establish a shared point of visibility that affects the whole route. The question of a flashlight alternative is therefore less about finding an identical item and more about deciding whether a flare’s area coverage is worth losing a slot or charge.
When Flares Beat a Personal Light
A flare is strongest when the stage contains darkness, wide gaps, or objects that need to be read from a distance. Placing light near an obstacle can reveal a safe landing pattern, while a personal beam may be too narrow to explain the entire room. Flares also help teammates coordinate because the illuminated area is visible from several positions.
A useful flare placement is usually upstream of the decision point. Rather than lighting only the immediate platform, place it so the player can see the next landing, the water beneath it, and any approaching danger. This gives the flare more practical durability because one placement supports several decisions.
When Saving the Flare Is Better
A flare is not automatically the best answer in every dark section. If the route is short, the player can identify the next platform from a personal light, and the flare would only reveal empty space, save it. A flare also becomes less valuable after the important obstacle has already been cleared. The resource should follow the route, not a habit of using one whenever the screen gets dark.
| Flare target | Effectiveness | Recommended action |
|---|---|---|
| Wide dark chamber | High | Use it for shared route visibility |
| Short dark corridor | Medium | Use a personal light if available |
| Already visible jump | Low | Save the flare for later |
| Water landing zone | High | Place it where the landing is easy to judge |
| Empty decorative area | Very low | Do not spend it there |
For more detail on permanent light-related upgrades, compare the maximum toy battery and flare upgrade options. The important result is not simply a larger number; it is a better chance of illuminating the exact area where the next mistake could occur.
DONT SPLASH Pebble vs Flare Decision Guide
The best comparison depends on what the stage demands. Pebbles manipulate attention, while flares manipulate visibility. Choosing between them becomes much easier when you identify the obstacle that is likely to end your run: a pursuer watching your movement, or a hidden jump that is impossible to read.
Choose a Pebble for Attention Control
A pebble is the stronger option when danger comes from being seen or followed. A well-aimed throw can make a pursuer investigate the wrong side of the stage, creating space for a jump or water crossing. Pebbles are therefore especially valuable during sections where timing and attention management matter more than seeing the floor.
Do not throw a pebble merely because water is nearby. First identify where the danger would go, then place the decoy far enough away to create a believable distraction. If the stage is already dark, the pebble’s effect may be less noticeable; in that case, improve visibility first or use a flare to support a later decoy.
Choose a Flare for Route Clarity
A flare is the stronger option when the main issue is uncertainty. If you cannot tell where a platform ends, whether a gap is safe, or where a teammate should land, lighting the area can prevent an immediate mistake. A flare is especially effective when its radius covers the entire landing zone and the next decision.
In direct comparisons, a flare generally outpaces a pebble for route reading because it reveals a wider radius, including a hidden next platform and blind corners; a pebble instead performs better against an enemy who can already see your movement. For example, during a pressured water crossing, the table favors a pebble, but in a wide room containing several blind spots, a flare is the stronger choice because its radius can cover the next landing decision.
| Condition | Pebble advantage | Flare advantage |
|---|---|---|
| Enemy can see your movement | Strong | Moderate |
| Next platform is hidden | Weak | Strong |
| Water crossing under pressure | Strong | Moderate |
| Wide room with several blind spots | Moderate | Strong |
| Safe, short corridor | Often unnecessary | Often unnecessary |
Use the least destructive tool that addresses the actual problem. If visibility is adequate and a pursuer is the threat, a pebble preserves the flare for a later blind section. If you cannot read the route, illumination may prevent a failure that no distraction could fix.
DONT SPLASH Rope Strategy for High-Risk Runs
The rescue rope is most valuable when used as part of a deliberate route plan. Players tend to view it as a backup for mistakes, but treating it as a proactive positioning tool can make difficult stages safer. The DONT SPLASH maximum pebbles and utility guide is useful for seeing how throwing range, pebble skipping, and rope-related stats fit into the wider tool setup.
Rope Before the Failed Jump
When a jump is technically possible but leaves no margin for error, the rope can be a safety option for a later correction. It is better to recognize the risky landing before the attempt than to rely on recovering afterward. This does not make every difficult jump safe, but it can prevent a small positioning error from ending the run.
Rope for Teammate Recovery
In a team, the rope has a different durability calculation. A single rescue can preserve a teammate’s progress and keep the group moving, making the tool more valuable than a personal convenience. Communicate before using it, because a poorly timed rope can waste reach or leave both players exposed. The goal is to turn a failed teammate position into a controlled recovery.
Rope Slot Management
A rope occupies one of your limited hotbar spaces, so carrying it affects every other decision. Community players often recommend prioritizing pebble upgrades early, but that advice assumes you already have enough recovery coverage. If your group regularly struggles with ledges, keep the rope available even if that means less room for another active throw.
| Run state | Rope decision |
|---|---|
| Team has strong movement tools | Carry for emergency recovery |
| Stage has repeated ledge jumps | Keep rope readily accessible |
| Low tool capacity | Use only when rescue risk is high |
| Group is experienced and coordinated | Carry if it does not reduce other coverage |
| Near a confirmed safe route | Stow it to preserve the slot |
A reliable rope strategy is not about using it constantly; it is about preserving a recoverable option for the exact moment when one missed input would otherwise become a restart. For example, if a cliff section requires a chained throw and your group has strong movement tools, keep the rope available only for emergency recovery rather than treating it as the primary route. When repeated ledge jumps make a fall likely, however, the rope’s slot cost is justified because a failed jump can cost more time, tool durability, and progress than carrying one extra recovery item.
DONT SPLASH Tool Tier List by Practical Value
A tool tier list should measure performance in ordinary runs, not just raw stats. The official page identifies utility attributes such as throwing range, pebble skipping, flare radius, toy battery, rescue speed, and rope reach. Since no single number captures survival value, the ranking below weighs usefulness, flexibility, and how often a tool can prevent a failed attempt.
Tier S: Rescue Rope
The rescue rope earns the highest practical tier because it can address positioning failures directly. It supports teammate recovery, extends reach, and provides a second chance after a missed route. Its weakness is specialization: it does not distract enemies or illuminate darkness, so it needs other tools around it.
Tier A: Pebble
Pebbles are extremely flexible because they create a distraction without requiring the player to alter the route. The cap of eight without upgrades means that careful timing matters, but a good throw can change where danger looks. Pebbles also pair well with flares because one controls attention while the other controls visibility.
Tier A: Flare
A flare matches the pebble in broad usefulness but performs best when the stage has a large dark area. Its radius can improve route reading and support teammates, while its consumption makes careless placement costly. A flare is a top-tier tool for a difficult room, but a poor choice in a short corridor.
Tier B: Toy Battery
The toy battery powers light utilities with finite charge, giving it a supporting role rather than the direct control offered by a pebble or rope. It can still be valuable for a specific lighting puzzle or a short dark passage. Treat it as a focused resource whose durability depends on how much relevant darkness remains ahead.
| Tier | Tool | Why it ranks here | Main weakness |
|---|---|---|---|
| S | Rescue rope | Recovery and reach prevent route-ending failures | Narrow role |
| A | Pebble | Flexible, powerful distraction | Limited supply and aim requirement |
| A | Flare | Strong area visibility and teammate coverage | Wasted use in short stages |
| B | Toy battery | Useful finite lighting utility | Narrower and less flexible |
| Situational | Extra tool slot | Adds planning flexibility | Consumes currency and inventory opportunity |
The ranking can change by stage. A team with excellent eyesight may value a flare less, while a group struggling with ledges may place the rope even higher. For a broader inventory overview, use the complete DONT SPLASH tools breakdown alongside this durability ranking.
Building a Durable Tool Plan for Each Stage
A durable tool plan starts before the run by choosing an order of purchases and a loadout that covers different failure modes. Community tips frequently prioritize pebble upgrades and a fourth tool slot, but the best purchase depends on which stages you repeat and whether you play cooperatively.
Match the Loadout to the Route
A balanced setup pairs a decoy tool with visibility and recovery. Pebbles cover pursuit, flares cover darkness, and the rope covers positional mistakes. If your inventory can hold only two tools, choose based on the stage’s dominant hazard. If you can hold three, the combination is usually more resilient than three variations of the same function.
A practical priority order is: carry the decoy that handles the current route’s main threat, then add visibility for the stage’s visual failure, and finally keep a recovery tool for failed jumps or team rescues. This ordering matters because durability is limited: a weakened pebble decoy, spent flare, or damaged rope can become useless exactly when the route demands it. For example, use pebbles to cover pursuit pressure, carry a flare when the level is dark, and reserve the rope for ledges or missed jumps. After those three functions are covered, add capacity for higher-tier tools only if all of them can remain usable.
-
Cover the active decoy need with pebbles and improved throwing range.
-
Protect against the stage’s visual failure with a flare or the toy battery.
-
Keep one recovery option when ledges, team rescues, or missed jumps are common.
-
Expand capacity after coverage exists so you do not own upgrades that cannot all be used.
Save the Rare Resource
The most durable strategy is saving the right tool until its benefit is clear. A pebble is not wasted if it prevents a pursuit, and a flare is not wasted if it makes an entire room readable. A tool becomes inefficient when used merely because the stage is dark, busy, or tense rather than because it changes the outcome.
Before throwing, ask three quick questions: does the pebble, flare, rope, or flashlight alter the current threat and movement options, and is that gain worth the resource you can no longer recover? If a flare only brightens a corridor, a flashlight may be the cheaper alternative; if a rope creates a safer retreat path, it can justify the spend even without immediate damage.
-
Does this action change where danger looks or where the player can move?
-
Could a different tool solve the same problem with less resource loss?
-
Will the information or distraction still matter after the next move?
These checks make tool use less reactive and turn scarce supplies into a coordinated route plan. They also explain why the best answer to “how long does this tool last?” is not a fixed timer. It lasts until its useful effect has been achieved, and sometimes one well-placed tool can replace several weaker attempts.
Frequently Asked Questions
What is the best tool loadout in DONT SPLASH?
A strong general loadout pairs pebbles with flares and keeps the rescue rope available when a stage involves missed jumps or teammate recovery. If your hotbar has only two spaces, prioritize the tool that handles the stage’s biggest danger: pebbles for pursuit, flares for darkness, or the rope for difficult positioning. This approach also follows the game’s broader official utility list.
How many pebbles can you carry in DONT SPLASH?
Community gameplay reports indicate that a standard run caps pebbles at eight without upgrades. Because that supply is limited, each throw should create a meaningful distraction rather than land somewhere harmless. Improving throwing range or pebble skipping can make placement more precise, but careful timing remains important even when the throw is technically accurate.
Are flares always better than pebbles?
No. Flares are better when darkness prevents you from reading a route, while pebbles are better when an enemy is likely to watch your movement. A flare can reveal a wide landing area, but it will not draw attention away from a jump. A pebble can redirect danger, but it will not make an invisible platform visible. Use the tool that matches the specific problem.
When should you use the rescue rope in DONT SPLASH?
Use the rope when a failed position would be more costly than keeping an extra tool in the hotbar. It is especially valuable for reaching a ledge, recovering a teammate, or correcting a jump before the group loses progress. On easy stages, stow it to make room for pebbles or flares; on difficult routes, preserving recovery coverage is often the more durable choice.
How can players make tools last longer in DONT SPLASH?
Treat every tool as a decision tied to a specific route need. Throw pebbles only where a believable decoy can change enemy attention, place flares where they illuminate the next meaningful decision, and use the rope for a defined recovery need. Saving a tool until it solves that problem makes the limited hotbar more resilient across repeated runs.