
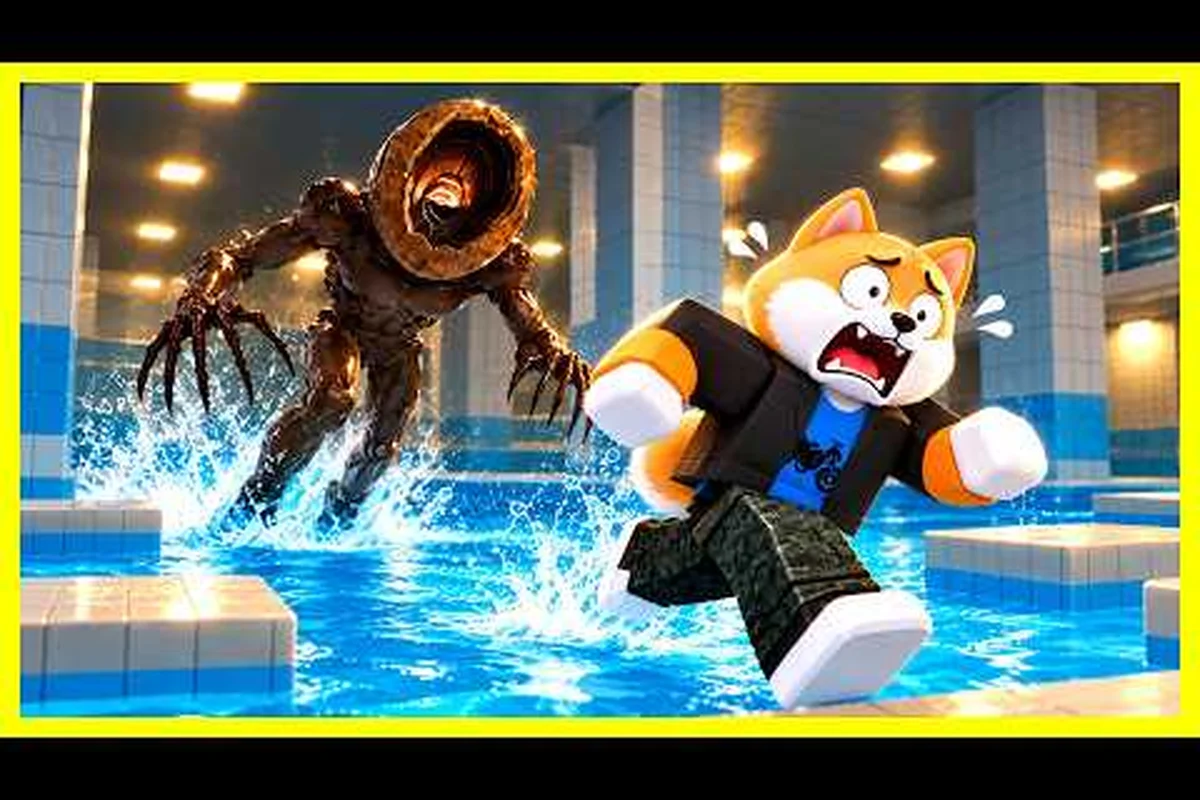
DONT SPLASH rewards careful tool use, and this dont splash tools guide explains how pebbles, flares, toy batteries, and the rescue rope can turn a dangerous obstacle course into a controlled escape. Learn which item solves each problem, how to manage limited charges, and when spending a tool is worth the risk.
Dont Splash Tools: A Practical Rundown
The official DONT SPLASH page on Roblox identifies four practical tools: Pebbles, Flares, Toy Batteries, and the Rescue Rope. Each has a distinct purpose, so the best strategy depends on what the current obstacle demands rather than on a single universal loadout.
A useful dont splash tool list begins with these four official options: Pebbles, Flares, Toy Batteries, and the Rescue Rope. Their value depends on carrying limits and the obstacle ahead: for example, hold a Pebble to distract a pursuing hazard before crossing, then use a Flare to reveal a dark route, or activate the Rescue Rope to recover from a missed ledge. Because every tool has a finite use, choosing when to deploy it matters more than collecting them all.
-
Pebbles create a distant distraction that can redirect an obstacle’s attention.
-
Flares illuminate dark areas and provide light coverage.
-
Toy Batteries power light-related utilities with a finite charge.
-
The Rescue Rope reaches ledges and helps recover from bad positions.
Because tools are limited during a run, players should treat every use as a deliberate purchase of safety. An early distraction may make a later jump possible, while an unnecessary flare can leave a player without light at the most dangerous section.
| Tool | Primary function | Best use | Limitation |
|---|---|---|---|
| Pebbles | Distraction | Redirect attention before a risky move | Limited carry and throw count |
| Flares | Area illumination | Cover a dark route or obstacle | Light coverage rather than unlimited visibility |
| Toy Batteries | Powered light utility | Restore illumination when needed | Finite charge |
| Rescue Rope | Reach and recovery | Bridge a gap or recover a position | Reuse depends on positioning and reach |
This quick comparison comes from the official DONT SPLASH page and verified gameplay data. The current baseline is eight Pebbles without upgrades, but the real planning problem is how those Pebbles are used: one throw can create a distraction long enough to change an obstacle’s path, while a missed throw may waste both the Pebble and the opening. The exact quantities and upgrade levels can change, so players should treat eight pebbles without upgrades as the reported baseline rather than a permanent guarantee, and confirm the live tool count before committing to a route.
Pebble Distraction Mechanics
Pebbles are the most versatile active tool because they affect an obstacle before the player reaches it. The core dont splash pebble trick is to throw the pebble toward the far side of the danger, draw attention away from the intended route, and move while the obstacle reacts.
Players learning dont splash how to throw pebbles should first understand the hotbar behavior. Select the pebble with its number key, press the same key again to put it away, and click to throw it. Players who need a clearer breakdown of selection and throw commands can consult the hotbar and item controls guide.
Choosing a Pebble Target
A good pebble target is distant, visible, and separated from the route you intend to take. Throwing at the nearest hazard often fails because the distraction lands too late or remains close enough to affect you. Throwing beyond the obstacle is generally stronger because it creates more time for the next movement.
Before throwing, check four conditions that determine whether a pebble is a useful distraction rather than a wasted tool charge. A strong throw may still fail if it lands inside a patrol’s view, triggers movement too close to you, or gives the enemy no meaningful reason to look away. For example, throwing behind a distant gate may pull a camera or guard toward that area, but the same throw toward a nearby wall can merely alert a teammate while exposing your path. The useful pebble is the one that changes enemy behavior, creates distance, or opens a safe route for your next movement.
-
The pebble has a clear path to the target area.
-
The landing point is far enough to produce a useful reaction.
-
The distraction does not place you near another moving hazard.
-
You have a safe movement window after the throw.
This four-point pebble check prevents players from spending a charge on a technically correct throw that has no practical value. A distraction should buy distance, shift a camera or patrol, or open a route; otherwise, saving the pebble is usually the stronger decision.
The Eight-Pebble Baseline
Verified gameplay reports indicate that a standard run can carry as many as eight pebbles before upgrades. That answer to dont splash how many pebbles becomes especially important because the number is not merely ammunition: every pebble is also a route-planning resource.
Community players commonly treat pebbles as the best early purchase because they are the only active decoy in the tool set. The priority makes sense in early stages: a distraction can be thrown before crossing a danger zone, whereas the rescue rope is usually less useful unless a player has already made a mistake.
| Loadout situation | Better first tool | Reason |
|---|---|---|
| Early stage with a moving obstacle | Pebble | Creates time before commitment |
| Dark section with a visible route | Flare | Improves visibility without distraction delay |
| Gap-heavy section | Rescue Rope | Provides reach and recovery potential |
| Uncertain stage with several hazards | Keep multiple tool types | Avoids committing every resource to one situation |
The don’t splash pebble distraction works best when the player throws early, selects the landing area carefully, and immediately follows with movement. For example, throwing toward a moving obstacle creates a brief commitment window before the player crosses a danger zone; saving the throw until the last possible instant removes the reaction time that made the distraction useful. In uncertain stages with several hazards, the pebble’s value is that it delays attention elsewhere without consuming a rescue rope, so the player can still keep one recovery option available.
Flares, Batteries, and Visibility
Flares and toy batteries both improve visibility, but they should fill different gaps. A flare is placed to cover an area, while a toy battery powers a light utility and has a finite charge. Treating them as interchangeable can leave a player with no illumination during a later section.
The official listing highlights flare radius and toy battery as separate upgradeable utility stats, confirming that their functions are not identical. Community footage also shows flares being used to cover a dark stretch of a stage rather than carried as a permanent flashlight.
Flare Placement
A flare works best when placed behind or slightly above the player’s next line of travel. The goal is to illuminate the surface, landing points, and edges that matter for the next jump. Placing it at the player’s feet may provide light but fail to reveal distant hazards.
Try placing the flare slightly behind the direction of travel instead of aiming it at the obstacle directly. This lets the light spread across the next platform and reveal its edge before the player commits to the jump. For example, if a narrow landing area is hard to distinguish, a flare placed off to one side can expose the platform boundary without drawing attention away from the route. This is especially useful when using pebbles to distract an enemy, since the flare can clarify the safe path while the pebble pulls attention elsewhere.
-
Identify the obstacle that is hardest to read.
-
Find a stable position outside the immediate danger zone.
-
Place the flare where its radius covers the next landing area.
-
Move before the surrounding area becomes crowded.
-
Keep the remaining light tool for a later gap.
A successful flare placement removes uncertainty rather than merely making the screen brighter. If the next platform remains unreadable after the light lands, move the flare instead of continuing blindly, since a fixed flare can expose the jump’s start without revealing where the player will actually land. For example, when a wide gap hides a small platform, shift the flare toward the gap’s midpoint to trace the landing point, then reposition it again if the route curves. This is especially useful when a pebble distraction draws an enemy away: keep the flare focused on the platform edge the player must reach, and avoid spreading its light over the enemy’s approach, where a clearly visible target could interrupt the pebble trick.
When the Toy Battery Outlasts a Flare
Use the toy battery when the required light comes from a powered device or when a portable source would remain useful across a short section. Its finite charge makes timing more important than a flare’s placement. A player who spends the battery early may reach a darker area with neither a charged battery nor a conveniently positioned flare.
| Visibility need | Preferred tool | Timing rule |
|---|---|---|
| One clearly defined dark obstacle | Flare | Place it before entering the radius |
| Short route requiring sustained light | Toy battery | Conserve charge until near the dark section |
| Several separated dark zones | Flare | Place each one according to route geometry |
| Uncertain lighting layout | Both tools | Cover the nearest gap, then preserve the other |
For broader comparisons of utility behavior and durability, the tool durability breakdown explains why players save particular tools for specific situations, such as reserving a flare for a single distant obstacle or keeping the toy battery available for a longer route. This also helps distinguish temporary visibility from a reusable distraction tool, so a limited-charge item is not spent when a placed flare can cover the next dark zone more reliably.
Rescue Rope Timing and Recovery
The rescue rope is the safety tool of the set. It can extend reach toward a ledge, support recovery from a poor position, and help a stranded teammate. Its value is highest when a bad landing or missed jump leaves a player with limited movement options.
Players should not use the rope simply because a gap looks wide. First identify what it solves: a short reach gap, a recoverable position, or assistance for another player. A rope thrown toward a distant platform may create risk if its reach is insufficient or if the player commits before confirming the connection.
Recognizing Recovery Windows
A recovery window is the short period after a missed jump when the player can still reach a ledge, correct direction, or recover momentum. The best rescue rope use happens during that interval because a later attempt may involve a larger fall or a worse angle.
Consider these signs: a ledge is within rope range, a teammate is stranded, a gap is wide but low-risk, a normal jump is already possible, or several players need rescuing. These situations show how a recovery rope can turn a missed movement into a manageable second attempt, while a pebble distraction may preserve the rope for a later checkpoint. Check reachability, landing space, and nearby hazards before throwing; for loadout priorities, compare the rope with other tools in the best loadout and upgrade guide.
-
The player is sliding below a reachable ledge.
-
A nearby wall is too close for a normal jump.
-
A teammate has landed outside the main route.
-
The intended platform is just beyond normal movement range.
-
The current position is stable enough to aim carefully.
When none of these conditions applies, the rope may be better saved for a later obstacle. For example, if a normal jump can clear the route but a pebble can redirect a teammate away from a hazardous landing, spending a pebble preserves the recovery rope for the checkpoint that follows. Players who want deeper loadout decisions can compare spending priorities in the best loadout and upgrade guide.
| Situation | Rope decision | Key caution |
|---|---|---|
| Ledge is within reach | Use the rope | Aim before momentum is lost |
| Teammate is stranded | Use the rope | Coordinate with nearby hazards |
| Wide but low-risk gap | Rope may help | Confirm reach and landing space |
| Normal jump is possible | Save the rope | Preserve it for a real recovery |
| Multiple players need help | Prioritize order | Avoid spending every charge early |
The recovery rope’s main advantage is that it converts a failed movement into a recoverable situation, but each throw consumes a limited charge. For example, if a missed jump leaves the player sliding below a reachable ledge, the rope can restore access to the route before the fall becomes more dangerous; if a normal jump can still clear the gap, a pebble distraction can redirect a teammate away from a hazardous landing instead. Saving the recovery rope for a later checkpoint preserves a resource that may be essential when the next obstacle cannot be solved with ordinary movement.
Tool Selection and Loadout Strategy
A strong dont splash tools guide does not recommend one permanent order. It teaches a rule: carry the tool that solves the most likely immediate obstacle, then preserve a secondary tool for recovery. The official page notes that players begin with limited hotbar capacity and can unlock more slots, which makes every early purchase consequential.
The verified tips footage recommends buying pebble upgrades early and saving upgrade cash for a fourth tool slot before purchasing cosmetics. That recommendation reflects tool utility: a larger slot count allows a player to carry distraction, illumination, and recovery options instead of reacting with one tool at a time.
Buying Order for New Players
New players should generally follow this sequence, treating the pebble as the first tool to unlock because its distraction can interrupt enemy behavior before a risky commitment. Carry the rescue rope next for recovery, then use flares to reveal uncertain dark areas and reserve toy battery charge for sustained powered light. When comparing the full dont splash all tools list, prioritize practical utility over cosmetics: the pebble buys time, the rope preserves a route, flares reveal space, and the battery extends visibility. A balanced loadout therefore handles separate hazards instead of relying on one specialized tool.
-
Keep the pebble available. Its distraction ability works before commitment to a dangerous movement.
-
Add the rescue rope when possible. A recovery option prevents one missed jump from ending a promising run.
-
Use flares for uncertain dark sections. Positioned light is more useful than carrying an unused flare indefinitely.
-
Reserve toy battery charge. Its finite power rewards route planning.
-
Prioritize the fourth slot over cosmetics. More usable space improves every later run.
A complete dont splash all tools overview should also include the differences between utility types, not just their names. The pebble changes enemy behavior, flares cover space, the battery sustains a powered light, and the rope modifies movement options. Each answer solves a different problem, which is why a balanced loadout often outperforms a specialized one.
Slot Assignment
Place the most frequently used tool on the easiest number key. The pebble is a strong default because it can be used before a jump, while the rope and flare may be reserved for particular situations. The toy battery should occupy a separate slot if it is included, so players can find it without cycling past distracting tools.
| Slot | Suggested assignment | Reason |
|---|---|---|
| 1 | Pebble | Fast access for last-second distractions |
| 2 | Rescue Rope | Quick access for recovery attempts |
| 3 | Flare | Easy placement in dark sections |
| 4 | Toy battery | Separate slot for powered light |
| 5 or later | Context-specific tool | Keep the first four consistent |
Upgrades can change the equation. Players who regularly fail at distant pebble targets may prioritize casting distance, while players who depend on the rope may favor reach. The verified game data identifies throwing range, pebble skipping, flare radius, toy battery, rescue speed, and rope reach as utility stats, so upgrade choices should follow recurring problems rather than a universal ranking.
Advanced Escape Routines and Recovery Tactics
Advanced play combines tools into a repeatable route routine. Instead of asking which tool is strongest, successful players ask what information each tool provides. A pebble reveals where attention goes, a flare reveals the route, a battery preserves light, and the rope reveals whether recovery remains possible.
Community gameplay demonstrates why tool order matters: throw a pebble toward the hazard to draw attention, then use the flare’s radius to illuminate the darker section without revealing the whole route. Once the group commits to the jump, the rope should remain ready to recover a teammate who slips, turning a failed attempt into a controlled rescue rather than a restart. This supports a look–distract–commit–recover sequence, where each tool handles a distinct problem instead of being used simply because it is available.
The Look-Distract-Commit-Recover Routine
-
Look: Inspect the next obstacle, its distance, and the surrounding hazards.
-
Distract: Throw a pebble if the obstacle’s attention can be redirected.
-
Commit: Move only after the distraction has produced a visible change.
-
Recover: Use the rope if the landing goes wrong and a recovery window remains.
The routine matters because players often throw too late. Even a perfect pebble target cannot help if the obstacle reacts after the player has already jumped. A short pause after the throw may feel inefficient, but it prevents the player from mistaking animation for successful timing.
Contingency Planning
Each tool should have a backup purpose. If the pebble misses, a flare might reveal an alternative edge. If the flare is poorly placed, the battery may preserve light farther ahead. If both visibility tools fail, the rope can help recover from a misread jump.
| Primary plan | Failure condition | Backup response |
|---|---|---|
| Pebble distraction | Pebble misses or lands close | Use flare visibility and change approach |
| Flare placement | Flare covers the wrong area | Use battery charge on the nearest platform |
| Toy battery light | Charge runs out early | Save flare for the next dark zone |
| Rescue rope | Target is beyond reach | Look for a lower ledge or safer route |
Avoid spending the entire inventory in one location. A common mistake is using every tool to solve the current problem and entering the next section empty. Keep at least one useful resource for the route ahead, especially if a water hazard or moving obstacle separates the two areas.
Frequently Asked Questions
How many pebbles can you carry in DONT SPLASH?
Verified gameplay reports list eight pebbles as the unupgraded maximum, although upgrades may increase the limit. The number can vary with game updates, so check your current inventory. Treat the baseline as a planning reference: each pebble is a distraction resource, not merely ammunition.
What is the best pebble trick in DONT SPLASH?
The most effective pebble trick is to throw beyond the immediate danger so the obstacle reacts before you commit to a jump. Choose a visible landing area, throw early, and wait for a clear change in movement. A close-range throw may create a distraction too late to help.
When should players use the rescue rope?
Use the rescue rope when a missed jump leaves you with a reachable ledge, unstable landing, or another player stranded nearby. It is especially valuable after a short recovery window opens. If a normal jump remains possible, save the rope because preserving recovery can be more valuable than preventing every mistake.
Are flares or toy batteries better in DONT SPLASH?
Flares are better for covering a defined dark area because their radius lights a space around the placement. Toy batteries are better when you need portable, powered illumination over a short route, although their charge is finite. The best choice depends on the stage layout and whether you have a safe place to place a flare.
What is the best early tool loadout in DONT SPLASH?
A strong early loadout starts with pebbles, then adds the rescue rope for recovery and a flare for dark sections. Community players commonly prioritize pebble upgrades and a fourth tool slot before buying cosmetics. The most valuable choice changes as your route and recurring failures become clearer.