
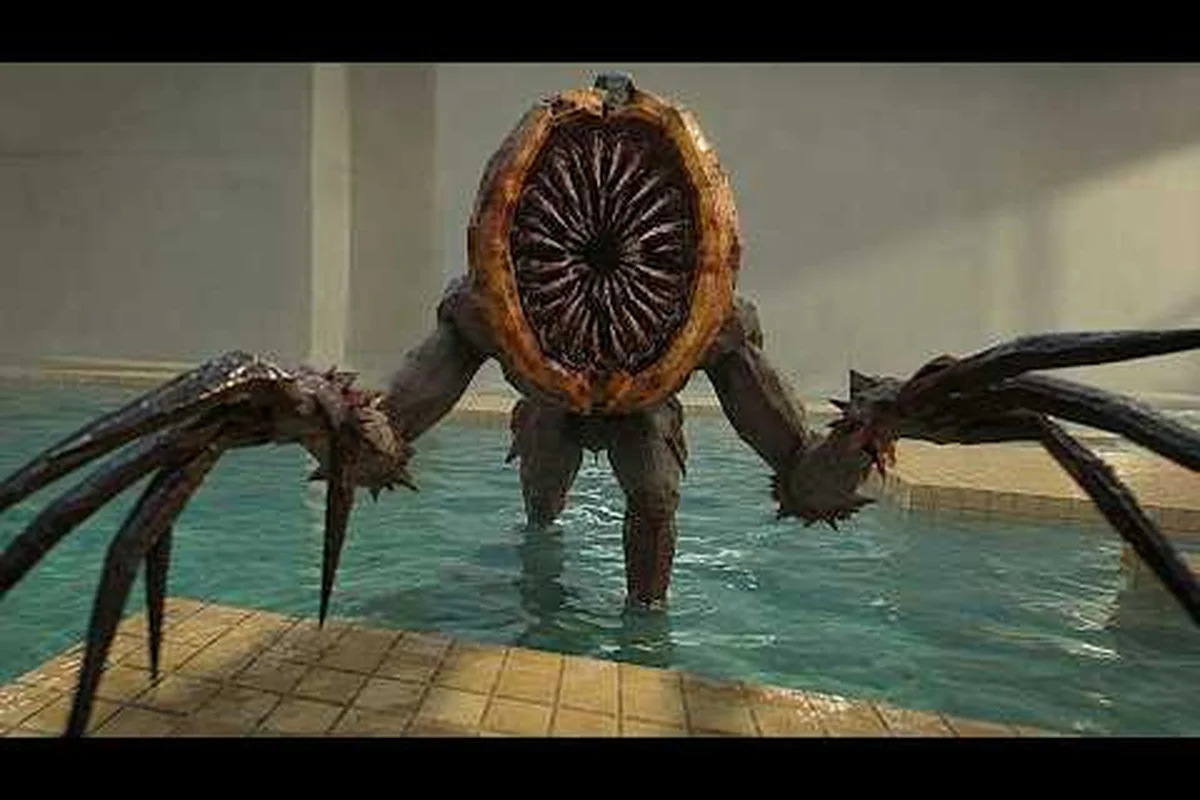
Understanding the dont splash pool maze layout can turn a dangerous final-room puzzle into a controlled escape. Learn where to find both valves, how to reach the high exit, and what to do when the rising-water warning appears.
dont splash pool maze layout: Route and landmarks
The dont splash pool maze layout follows a progression that becomes much easier to recognize once each landmark has a specific purpose. Walkthroughs show a sequence of basic platforms over still water, a broken walkway with narrow-ledge and wide-jump routes, sinking tiles, rotating bridges, and a two-valve maintenance room. The official DONT SPLASH game page confirms the stage structure and its mixture of floating platforms, broken walkways, sinking tiles, rotating bridges, and valve-locked access.
Understanding the layout matters because the exit is not simply reached by finding the tallest platform. The final section depends on activating Two Maintenance Valves, avoiding a high exit after the water begins rising, and using the correct door rather than assuming every visible opening is usable.
| Area | Main route signal | Primary objective | Main risk |
|---|---|---|---|
| Still-water platforms | Yellow route platforms | Follow the intended path | Monster contact and missed jumps |
| Broken walkway | Narrow ledges or wide-jump branches | Select a safe crossing | Falling into the water |
| Sinking tiles | Dark-bordered safe tiles | Cross before a tile disappears | Incorrect tile timing |
| Rotating bridges | Changing platform alignment | Time the crossing | Being carried toward danger |
| Maintenance room | Two separate valve controls | Open both valves | Leaving the second valve too late |
| Exit area | High exit route and exit door | Climb and escape | Rising water |
Reading route markers
Yellow platforms are the clearest directional cue, while black arrows painted on walls help guide movement through dry corridors. These markers should be treated as a Route Language: yellow tells you where the intended path goes, and black arrows clarify which corridor continues through the maze. Community tips also identify dark-bordered tiles as safe rest points in the sinking-platform section because they remain static.
Do not treat every dark surface as a shortcut. The dark-bordered safe tiles are meant to provide stable footing, while neighboring sinking pieces may disappear under your weight. For a broader view of the stage order, compare the DONT SPLASH new stages overview with the route shown in this guide.
The final-room sequence
The final room is easiest to understand as three linked actions: locate both valves, open them, and leave through the newly accessible exit. The exit door does not respond merely because the player enters the maintenance area. Both controls must be operated, and the high exit becomes the relevant destination after the locks are released.
| Sequence | What the player should do | What confirms success |
|---|---|---|
| 1 | Enter the maintenance section | Valve controls become reachable |
| 2 | Find and use the first valve | One lock or mechanism responds |
| 3 | Return to the second valve | Both valve states are active |
| 4 | Approach the exit door | The door no longer blocks the route |
| 5 | Climb toward the high exit | Escape route becomes available |
| 6 | Cross before water rises | Successful stage completion |
A key distinction is that high exit describes the route above the exit door, not an alternate bypass that skips the valve puzzle. The high exit is the final escape after the locks are released.
dont splash exit door: Valve placement and access
The dont splash exit door is controlled by two valves located in the maintenance section, which is why finding the door alone does not advance the stage. Both controls must be used, and the player needs enough time after the second activation to reach and climb the exit before the pool becomes unsafe.
The official stage overview identifies a valve-locked maintenance room as a distinct obstacle rather than ordinary platforming. A no-commentary DONT SPLASH stage walkthrough likewise shows the final two-valve lock opening the exit before the water rises, confirming the order that matters most.
Valve location method
Begin by tracing the maintenance room's dry corridors and following the wall arrows rather than repeatedly jumping toward the exit. The first valve should be treated as a route-discovery objective, while the second is the timing objective. After using one valve, do not continue searching randomly for a new platform; retrace the corridor and inspect the branches that were inaccessible or visually ambiguous on the way in.
| Clue | What it suggests | Practical response |
|---|---|---|
| Yellow platform | Intended route continues | Land here and follow the marker |
| Black wall arrow | Dry corridor continues | Move directly along the arrow |
| Valve handle or wheel | Required lock control | Activate it before searching elsewhere |
| Locked exit door | Both valves are still needed | Check the other maintenance branch |
| Newly accessible climb | High exit is ready | Leave immediately instead of exploring |
Opening both valves safely
The process for opening both valves is simple to describe but risky to rush. Operate one control, return through the same safe corridor, and locate the second. If the room changes after the first activation, give yourself a moment to identify the new path because the water rule may become active as the lock sequence advances. The important result is not merely seeing two activated valves; it is reaching the exit door after both controls have registered.
Community reports describe the two-valve room as the main test of whether a player can preserve momentum without wasting time. A clear head route is worth more than an improvised shortcut because a missed valve can send you back through a route that is now shorter but flooded.
dont splash high exit: Final escape route
The dont splash high exit is the finishing climb after the maintenance locks are removed. It is easy to confuse with the exit door because both occupy the final area, but they serve different roles: the door controls access, while the high exit controls the upward escape once the route is open.
A verified DONT SPLASH walkthrough by Zac Worthy shows the high-exit climb and notes that a fall sends the player back to the last checkpoint reached. That means the safest approach is to secure the valve sequence first, then approach the climb with a clean movement route rather than gambling on a difficult shortcut.
High-exit approach
Start at the exit door after both valves have been opened. Look for the upward path and test each foothold before committing to a jump. The high exit should be treated as a Vertical Escape Segment: the goal is not the fastest individual jump, but reaching the opening without returning to the water or disturbing the route.
| Situation | Why it is risky | Safer response |
|---|---|---|
| First valve is open, second is missing | Searching under time pressure can cause a fall | Return along the established corridor |
| Both valves are open | Exploration costs precious water-safe time | Move directly to the exit door |
| Exit door is open | The stage is no longer a puzzle room | Begin the climb immediately |
| A jump misses | The player returns to the last checkpoint | Reuse the confirmed route |
| Water rises during the climb | Lower ledges may become unsafe | Commit to the nearest stable handholds |
Exit door versus high exit
The exit door is the checkpoint-like objective that confirms the valve puzzle is complete. The high exit is the physical destination above or beyond that door. If a player is trying to figure out how to unlock the exit and keeps jumping onto higher blocks without using the controls, the puzzle remains unsolved because those blocks do not replace the two required valve actions.
| Feature | dont splash exit door | dont splash high exit |
|---|---|---|
| Role | Unlocks access | Completes the escape |
| Requirement | Both valves active | Open route and successful climb |
| Error tendency | Mistaking it for the finish | Trying to reach it before unlocking |
| Best action | Confirm both valve states | Move upward without delay |
dont splash rising water warning: Timing the escape
The dont splash rising water warning is the signal that the final escape has become time-sensitive. It should be treated as a stage-state change: the route is still available, but the margin for searching, backtracking, or experimenting has narrowed. Understanding the warning and its trigger is more useful than trying to calculate an exact second count, because the available walkthroughs do not establish a published timer.
The dont splash water rising stage combines the valve puzzle with the pressure of a changing pool. Players who see the warning and continue exploring may turn a solved mechanical problem into a movement failure. The correct response is to verify that both valves have been opened, approach the exit door, and begin the high-exit climb.
Warning-response checklist
When the warning appears, identify your current location before moving. If both valves are active, the route through the exit door is the priority. If one valve remains inactive, use the nearest known corridor rather than trying random jumps across the maintenance room.
| Warning state | Immediate action | Route priority | Avoid |
|---|---|---|---|
| Both valves open | Head for exit door | Shortest confirmed path | Exploring extra branches |
| One valve open | Find the remaining control | Known maintenance corridor | Unverified shortcuts |
| No valves found | Search marked dry paths | Yellow platforms and wall arrows | Jumping into dark water |
| Already at door | Start the climb | High-exit route | Waiting for a visual cue to change |
| Missed a jump | Resume from checkpoint | Previously successful platforms | Repeating the same failed approach blindly |
Surviving the final seconds
Speed comes from decision quality, not frantic movement. Decide where the high exit begins before the water warning appears, and know the route from the second valve back to the exit door. When the warning is active, every detour should have a known purpose. If the first planned jump fails, return to the last stable point and repeat the same action instead of changing routes in a random direction.
The DONT SPLASH tips video by TonyCool emphasizes that recognizing yellow platforms, wall arrows, and stable dark-bordered tiles lets players move without hesitating in monster range. That same route-reading habit helps during the rising-water sequence because it reduces the time lost to visual uncertainty.
dont splash open both valves: Complete run strategy
Knowing how to unlock the exit in DONT SPLASH comes down to method: locate the two controls, activate both, confirm the door, and climb to the high exit. The common failure is not discovering a missing valve; it is spending too long looking for a shortcut after the correct route has already been established.
Use the map as a sequence of checkpoints rather than one continuous jump puzzle. Each section gives you information for the next: yellow platforms reveal the intended line, black arrows clarify dry corridors, stable dark-bordered tiles provide breathing room, and the maintenance valves unlock the final ascent.
Full route checklist
-
Start with the basic floating platforms over still water and follow the yellow route markers.
-
Choose the broken-walkway branch that you can execute consistently, whether that means narrow ledges or wider jumps.
-
Cross the sinking tiles using the dark-bordered static pieces as safe resting points.
-
Time the rotating bridge so the next landing is available when you commit.
-
Enter the valve-locked maintenance room and follow black wall arrows through its dry corridors.
-
Find the first valve, activate it, and retrace the marked route to the second valve.
-
Operate both valves, then confirm that the exit door has opened.
-
Treat the rising-water warning as an immediate signal to begin the high-exit climb.
-
Resume from the last checkpoint after a missed jump, using the same movement pattern that worked earlier.
Situation-based recommendations
| Situation | Recommended approach | Why it works |
|---|---|---|
| Monster is close | Follow the marked path without pausing | Reduces hesitation and exposure |
| Player is weak at wide jumps | Prefer the narrow-ledge route where practical | Lowers the need for maximum-distance jumps |
| Water starts rising | Abandon exploration and use the exit route | Shortens time spent in the flooded section |
| One valve is missing | Retrace the known corridor | Markers can be easier to recognize from the opposite direction |
| A checkpoint is reached | Continue through the next section | Confirms progress before the harder room |
| Both valves are active | Head straight to the high exit | The mechanical puzzle is complete |
For broader context on how the water behavior interacts with the game’s current content, the DONT SPLASH recent update summary notes that the core water rules remain consistent even when seasonal props appear.
Mistakes that break the dont splash pool maze layout route
Most failed runs come from breaking the route into isolated jumps instead of following linked objectives. The yellow markers, arrows, tiles, valves, and high exit form a continuous path, and skipping an apparent shortcut can remove the information needed for the next room.
The first common mistake is climbing toward the high exit before using both valves. The second is activating the first valve and searching for the second through an unmarked branch instead of retracing the visible corridor. The third is treating the rising-water warning as a decorative alarm rather than the point at which every detour becomes expensive.
| Mistake | Consequence | Correction |
|---|---|---|
| Assuming the exit door is the finish | The valve puzzle remains incomplete | Find and use both valves first |
| Ignoring the first route markers | Player enters an unsafe branch | Follow yellow platforms and black arrows |
| Confusing a dark tile with a safe tile | Footing disappears unexpectedly | Use the dark-bordered static tiles |
| Wandering after the second valve | The water catches up | Move directly to the exit |
| Repeating a failed jump | Time drains without progress | Reset to checkpoint and use the proven approach |
| Ignoring the checkpoint system | Small errors become major delays | Continue from the last reached checkpoint |
The final takeaway is simple: the dont splash pool maze layout is a chain of signals and objectives. Read the route markers, preserve momentum through the earlier platforms, complete the two-valve maintenance puzzle, and treat the high exit as the last reliable path to safety once the rising-water warning appears.
Frequently Asked Questions
Where are the two valves in the DONT SPLASH pool maze?
The two valves are in the valve-locked maintenance room near the exit. Follow the yellow platform route, black wall arrows, and dry corridors to reach them. Use the first valve, retrace the marked path, and locate the second control before approaching the exit door.
How do I unlock the exit door in DONT SPLASH?
Both maintenance valves must be activated before the exit door opens. Finding the door alone is not enough, and neither valve can be skipped. Once both controls have been used, return to the door, confirm that it is open, and proceed toward the high exit.
What does the rising water warning mean in the pool maze?
The warning signals that the final escape has become time-sensitive. It does not mean the route has closed permanently, but it leaves less time to search or backtrack. Finish both valve interactions, head directly to the exit door, and begin climbing as soon as the high-exit path is available.
Can I reach the high exit without opening both valves?
No. The high exit is the final destination beyond the unlocked route, not a shortcut around the maintenance lock. Attempting to climb before activating both valves can waste time or send you back to the last checkpoint. Complete the valve puzzle first.
Should I keep exploring after the second valve opens?
No. Once both valves are active, the mechanical objective is complete. Exploration may expose optional scenery or routes, but it also consumes the limited safety window before the water rises. Take the confirmed path to the exit door and climb to the high exit.